From Blossom to Fall: A Kanto Journey Through Tokyo, Yokohama, Hakone, Kamakura, and Enoshima (With a Three-Year Visa Guide)
Meta Description: Plan your ultimate Kanto itinerary with this 9-day Japan travel guide covering Tokyo, Yokohama, Hakone, Kamakura, and Enoshima. Includes cherry blossom timing tips, budget breakdown, and a three-year visa guide.
There’s something magical about chasing cherry blossoms across Japan. It’s not just about the pink petals drifting in the wind—it’s about the serendipity, the unexpected detours, and the quiet moments when you realize you’ve stumbled upon something extraordinary. This was my third trip to Japan, and I’ve heard the question more times than I can count: “Why Japan again? What’s the draw?”
For me, it started with anime—those vivid, dreamlike worlds I grew up with. But after actually setting foot in Japan, I discovered that the real allure isn’t just the fantasy. It’s the polite bow of a stranger, the spotless streets, and the hidden temples tucked away in misty forests. It’s the feeling of walking into a living postcard.
This time, my itinerary stretched across Kanto—Tokyo, Yokohama, Hakone, Kamakura, and Enoshima. I planned for nine days, and I budgeted around ¥200,000 per person (roughly $1,800 USD). But the real currency? Memories, missteps, and a few too many black ice creams.
How to Time Your Cherry Blossom Trip: The Sakura Gamble
I didn’t initially plan to catch the sakura season. In fact, I booked my flights without much hope—prices were stubbornly high, and I assumed I’d miss the bloom. But then the 2018 cherry blossom forecast dropped, and it turned out the season had arrived nearly two weeks early. Lady Luck, it seemed, was on my side.
If you’re chasing blossoms, here’s the hard truth: timing is a gamble. A single spring rain can strip the trees bare. A cold snap can delay everything by days. But you can tilt the odds in your favor:
- Follow the Sakura Front (Sakura Zensen): Official forecasts update in stages—first in early spring, then weekly, then daily as the bloom approaches.
- Scour Social Media: Real-time photos from travelers are your best friend. Check Instagram, Twitter, or local blogs to see what’s actually happening on the ground.
- Watch the Temperature: This is the trick most people miss. Cherry blossoms respond to warmth. If Tokyo’s city center has already shed its petals, head to the cooler suburbs or mountains. A 30-minute train ride can make all the difference.

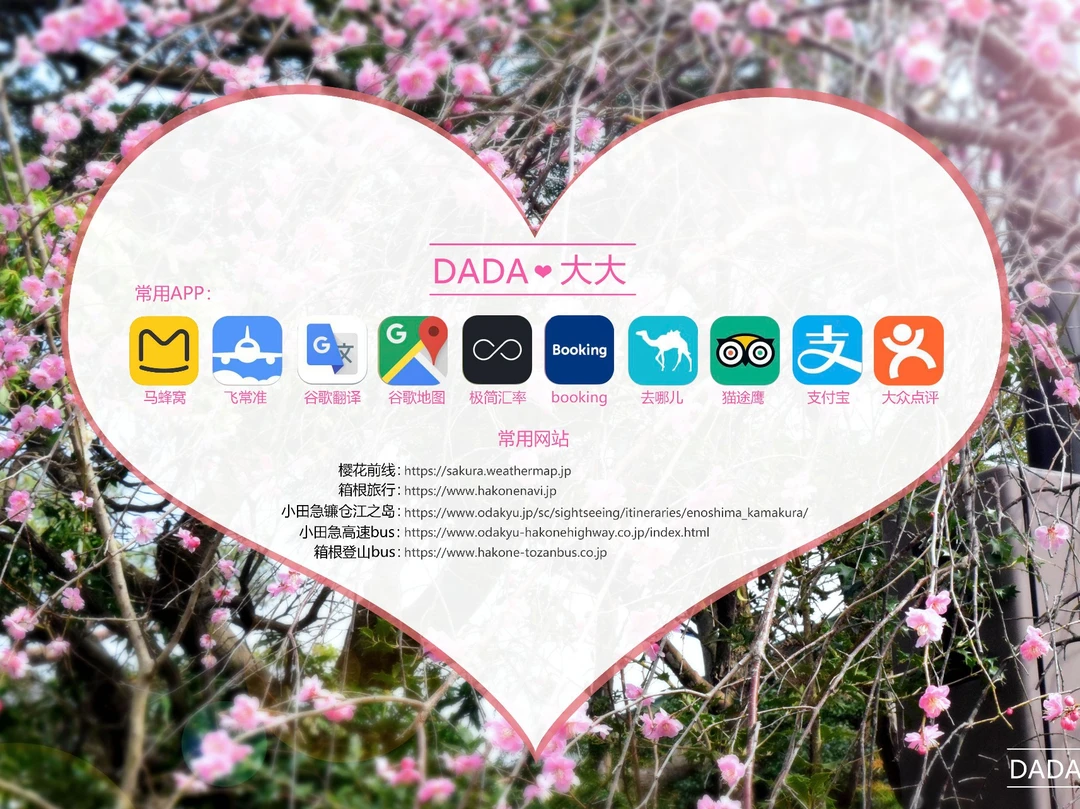
For apps and websites, I relied on the Sakura Front map, the Hakone Tozan Bus schedule, the Odakyu Railway site, and the Enoshima-Kamakura guide.
[Link: Best time to visit Japan for cherry blossoms]
Day-by-Day Kanto Itinerary: Tokyo to Enoshima
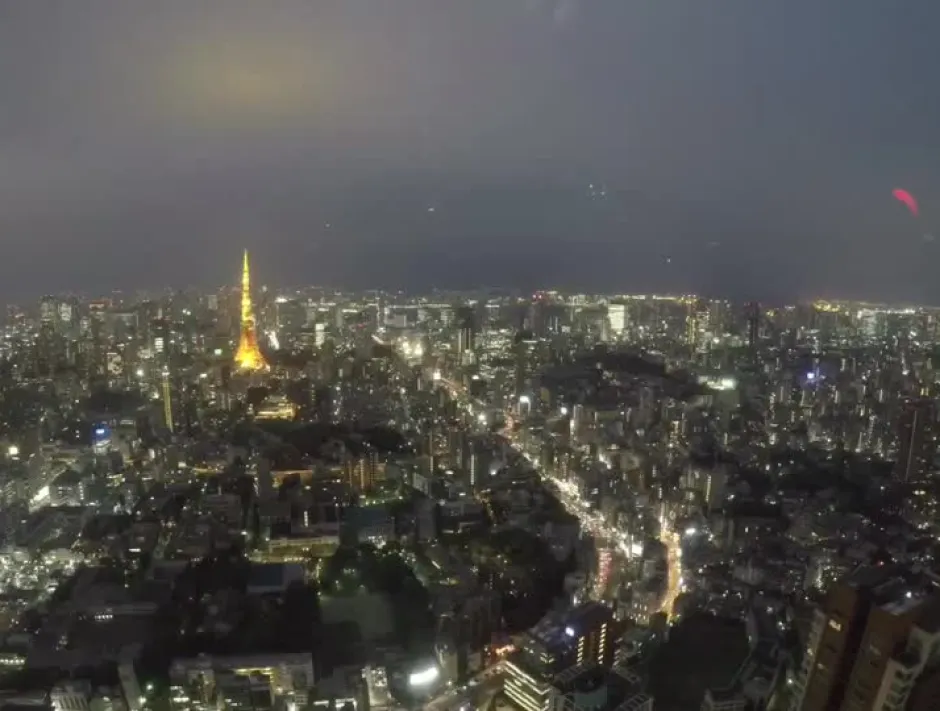
Day 1: Beijing → Tokyo → Hakone – Where the Bloom Begins
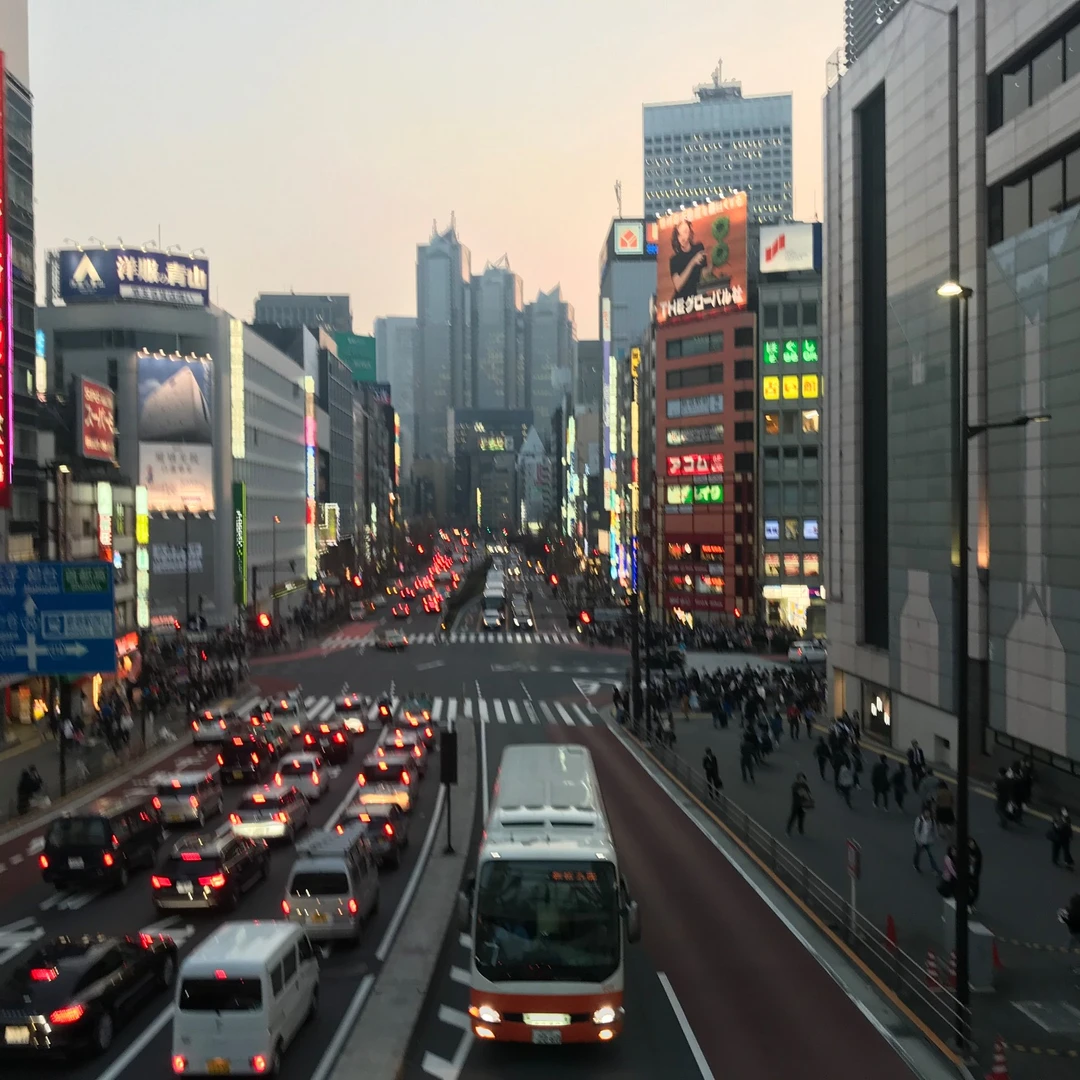
Flying into Narita (Tokyo’s most distant airport) at 3:50 PM meant I had to move fast. My first stop was Hakone, and I didn’t want to waste time backtracking.
Most travelers take the Odakyu Romancecar from Shinjuku to Hakone-Yumoto, but that only gets you to the base of the mountain. My hotel was in Sengokuhara, a 30-bus-stop ride from Hakone-Yumoto. Not ideal.
Then I discovered the Odakyu Highway Bus—a direct express from Shinjuku to Hakone. No transfers. No hassle. It’s basically Japan’s version of a long-distance coach, and it covers Fuji, Izu, and other nearby destinations. If you’re short on time, this is your ride.
To get from Narita to Shinjuku, take the Skyliner to Nippori, then switch to the Yamanote Line. When you buy your Skyliner ticket at the airport, tell the attendant your final stop—they’ll issue a combined ticket so you don’t have to buy another leg.
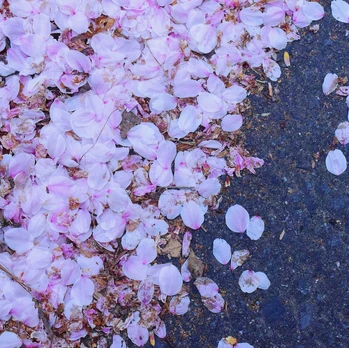
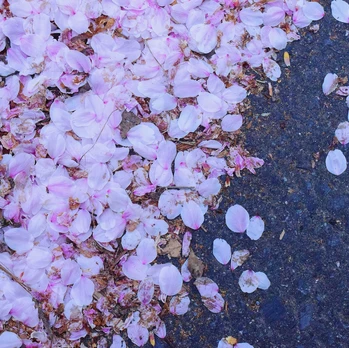
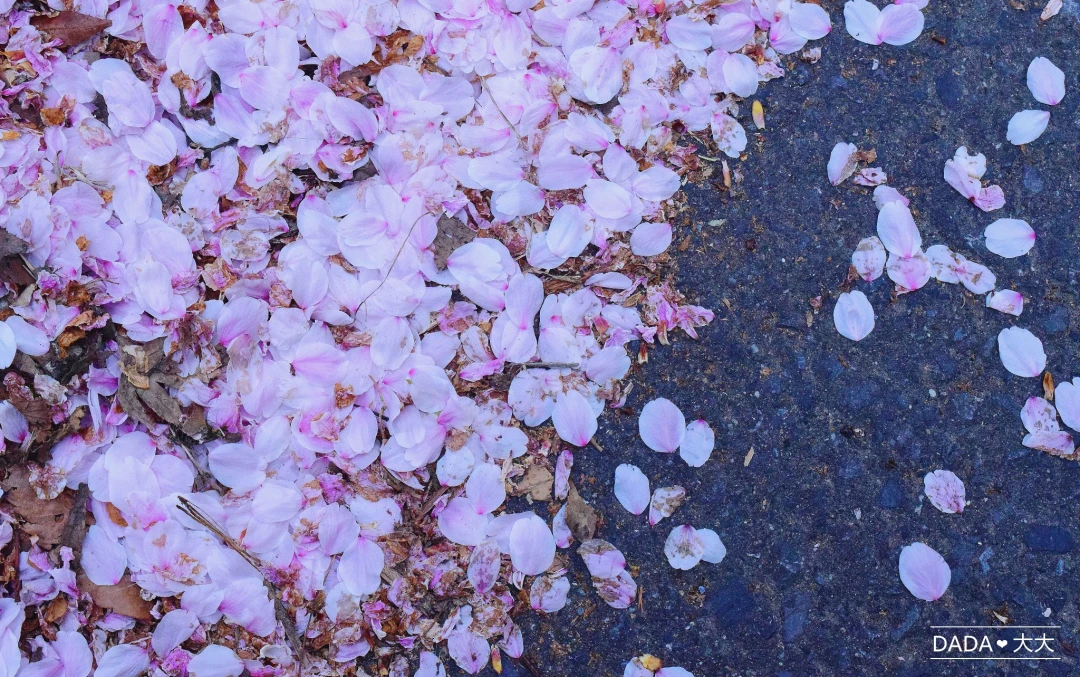
Even from the bus window, I saw cherry blossoms in full riot. Tokyo was at peak bloom, which meant by the time I left, the petals would be gone. My carefully planned Tokyo flower-viewing spots? Likely a washout.
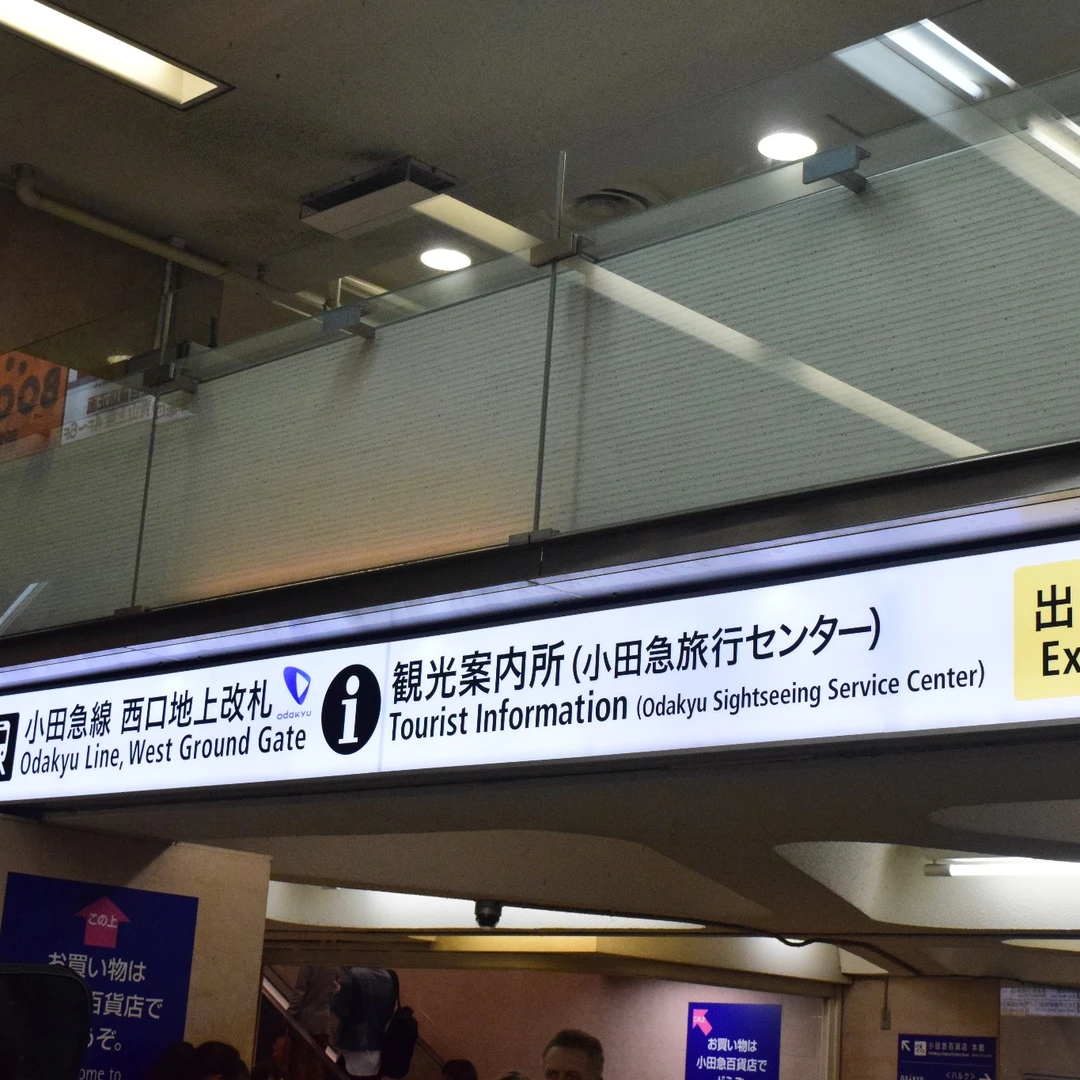
Pro Tip: The Odakyu Travel Service Center
This is your one-stop shop for all things Kanto transport. Located on the first floor of Odakyu Department Store (just outside Shinjuku Station), they sell Hakone Free Passes, Enoshima-Kamakura Passes, Romancecar tickets, and highway bus tickets. They also have English-speaking staff. If you’re lost, just walk in and dump your questions on them.
Hotel: Hakone Sengokuhara Prince Hotel
I’d give it an 8/10. It’s a bit remote, but that means peace and quiet—and reasonable prices. There’s a Lawson convenience store across the street from the bus stop (stock up on snacks). The hotel has two hot spring baths—one indoor, one outdoor. On clear nights, you can see stars from the outdoor pool. The rooms have small balconies overlooking a golf course, perfect for sipping tea and watching the clouds roll by.
[Link: Best ryokan in Hakone for onsen experiences]
Day 2: Hakone – Ōwakudani & Hakone-Yumoto
Ōwakudani: The Egg That Grants You Seven Years of Life
Ōwakudani is famous for two things: the smell of sulfur (imagine a thousand hard-boiled eggs left in the sun) and the legendary black eggs. According to local lore, eating one egg extends your life by seven years. I ate two. Fourteen years. Science.
The black soft-serve ice cream is also a must—just be prepared for a charcoal-colored tongue afterward. To get there, take the Hakone Ropeway (included in the Hakone Free Pass). The pass is essential: it gives you unlimited rides on most Hakone transport for 2 or 3 days. Buy it at the Odakyu Travel Service Center.
Hakone-Yumoto: Cherry Blossoms & Street Food
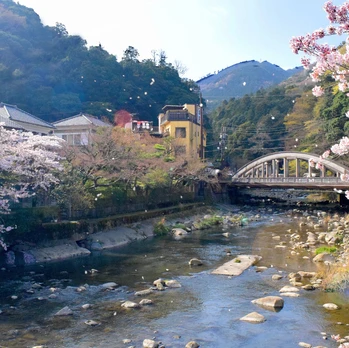
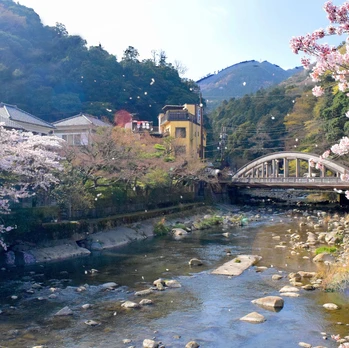
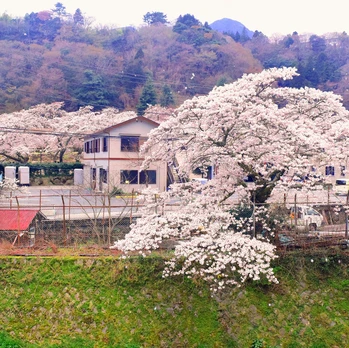
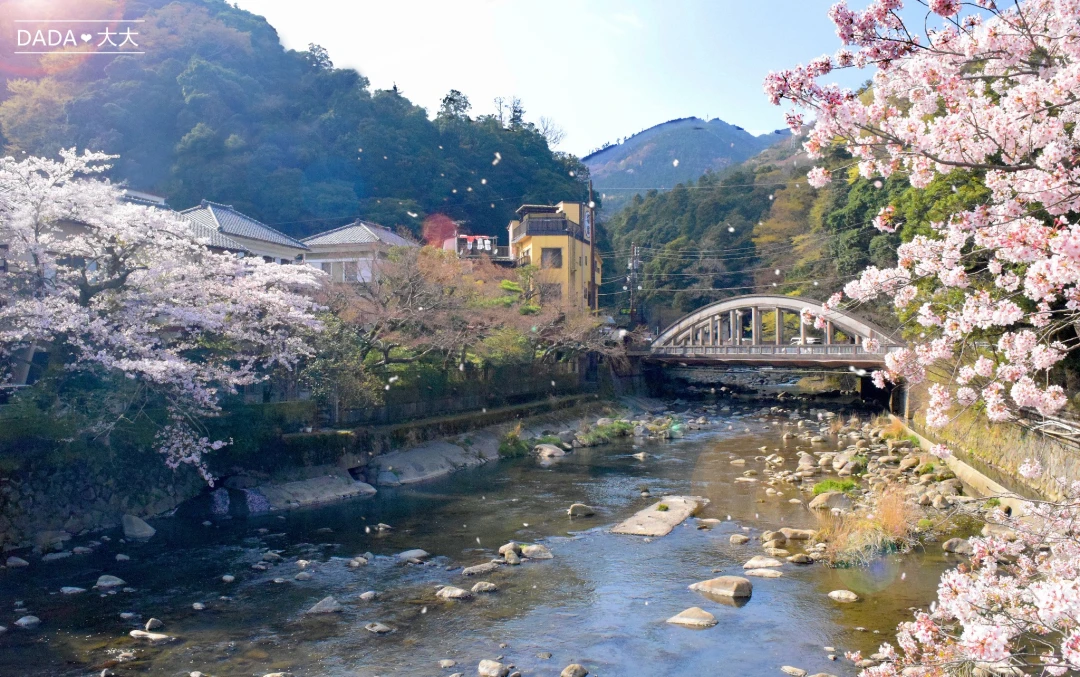
I’d planned to visit Miyagino for flowers, but the forecast said they weren’t open yet. So I wandered Hakone-Yumoto instead—and found the town in full bloom. It was a delightful surprise. The main street is lined with shops selling local specialties, and I stumbled upon an addictive shrimp cracker that I still dream about. If you’re a foodie, don’t skip this stop.
[Link: Hakone day trip itinerary from Tokyo]
Day 3: Lake Ashi – Hakone Shrine – Old Tokaido Road – Miyagino
Lake Ashi: Sailing Like a Pirate
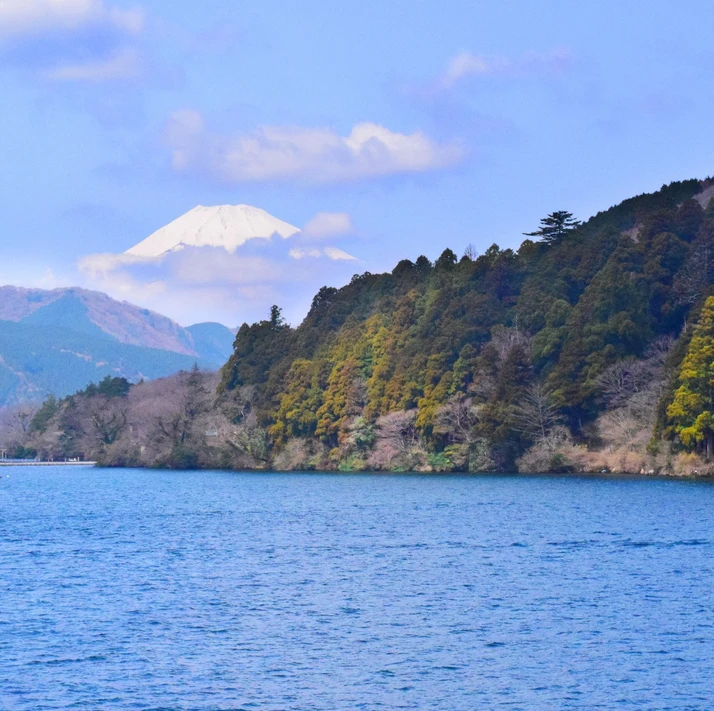
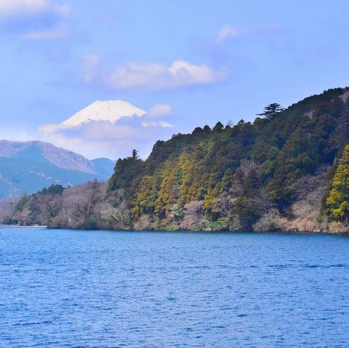
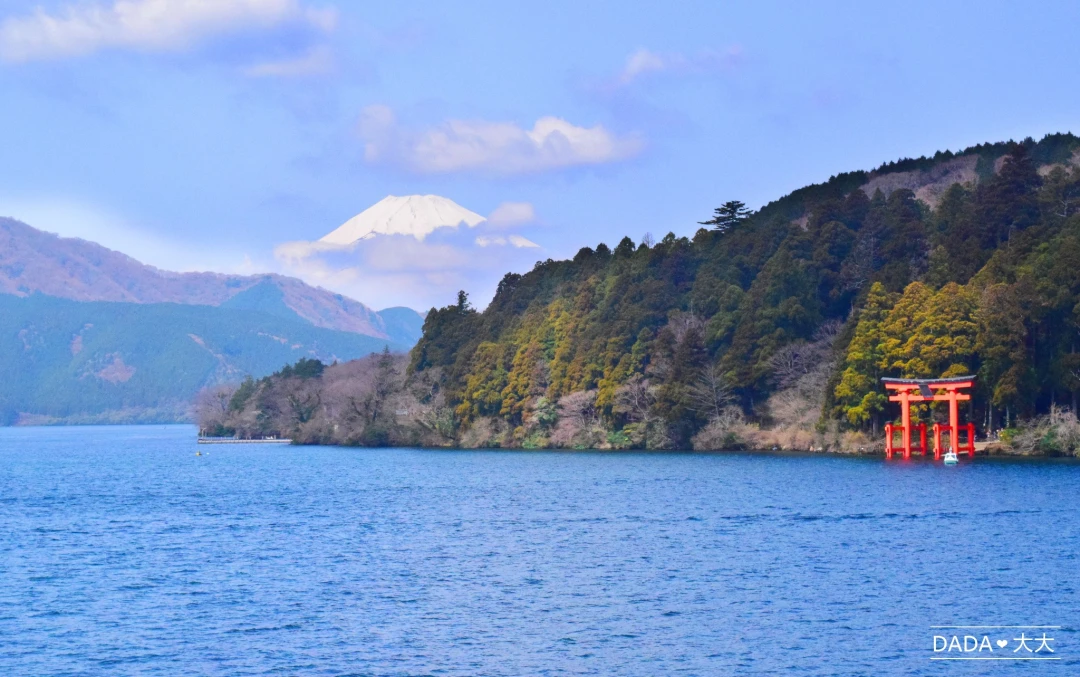
Lake Ashi is best paired with Ōwakudani, but I wanted to give it its own day. From Togendai, you board a “pirate ship” (yes, really) that crosses the lake. There’s a VIP cabin at the bow with better views, and you can take photos with the costumed crew. On a clear day, you’ll see Mount Fuji in the distance—and yes, even the locals get excited.
Hakone Shrine: The Instagram-Famous Torii Gate
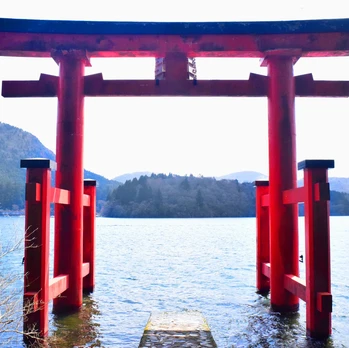
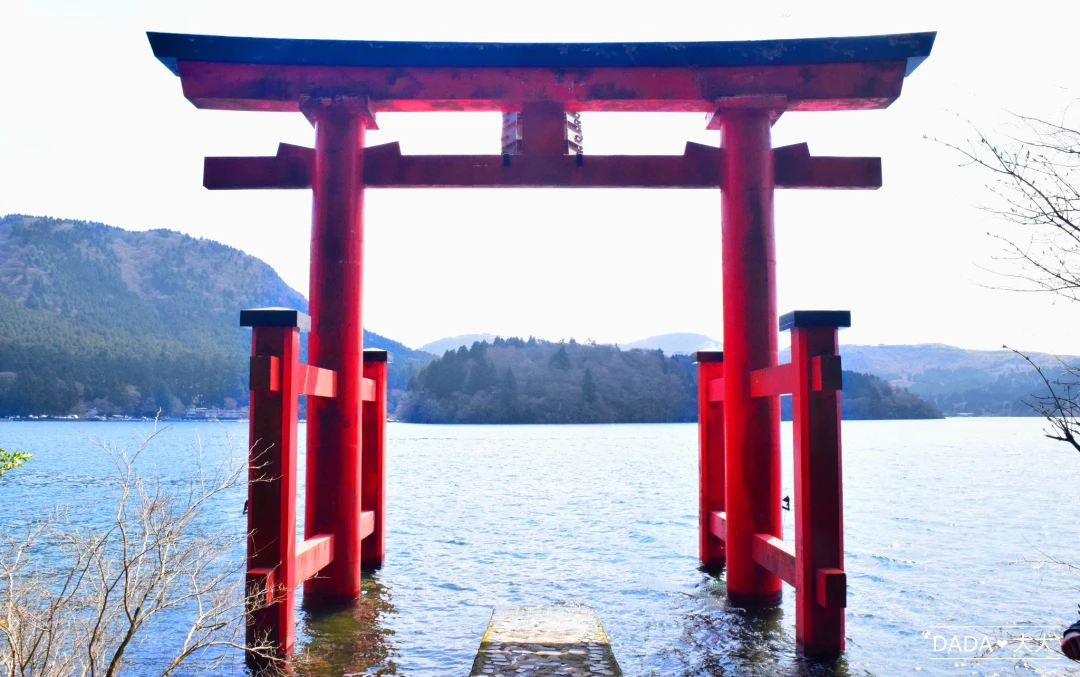
The ship stops at Hakone Shrine on the second leg. Don’t get off early. The shrine’s iconic torii gate sits in the lake, and despite the crowds, people queue politely to take their photos. No pushing, no sighing—just quiet patience. It’s a small miracle of Japanese etiquette.
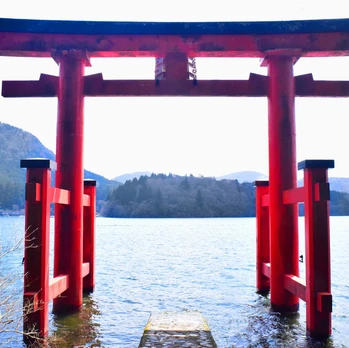
Pro tip: The gate is backlit, so adjust your camera settings (exposure compensation is your friend).
After the shrine, follow the signs to the Old Tokaido Road—a cobblestone path through the forest. Wear comfortable shoes. It’s quiet, shaded, and leads to a small shrine that feels like a secret.
Miyagino: The Secret Sakura Spot
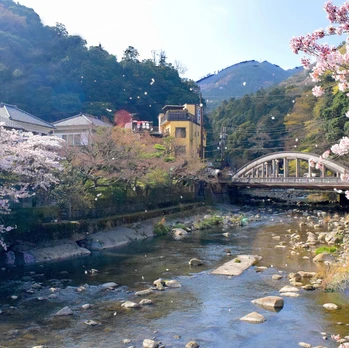
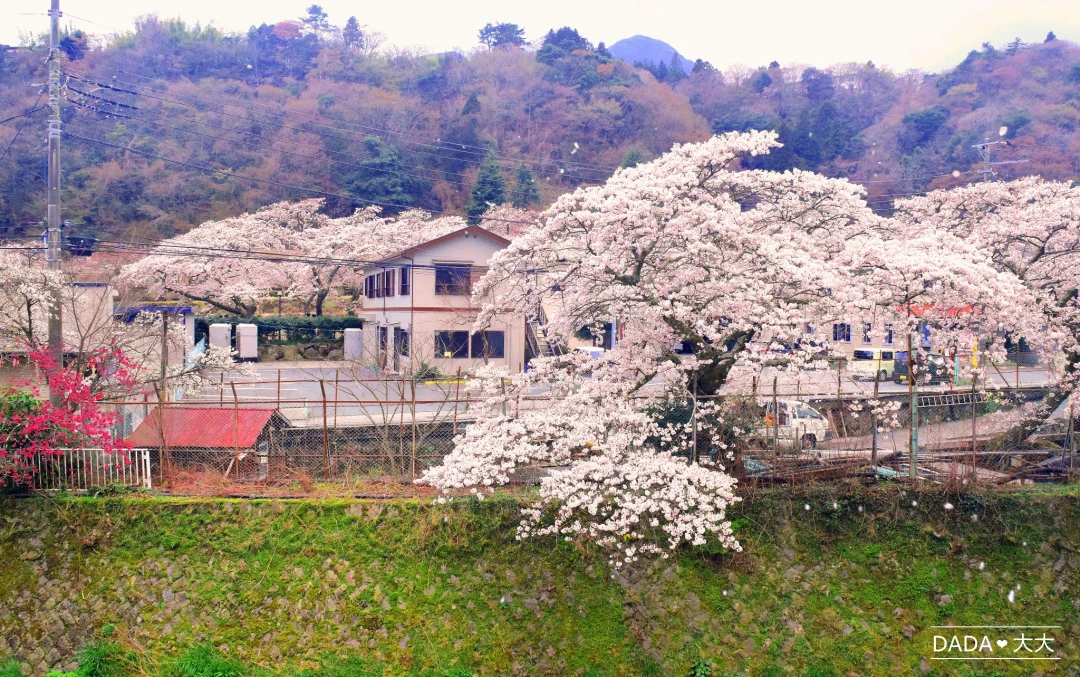
Take the Hakone Tozan Bus to Miyagino Station. You’ll find a bridge lined with cherry trees in full bloom, and almost no one else around. It’s perfect for photos, picnics, or just standing still and listening to the wind.
[Link: Hidden cherry blossom spots in Hakone]
Day 4: Hakone → Yokohama – Port City & Chinatown
Google Maps saved me again. I found a direct Odakyu bus from Sengokuhara to Yokohama Station. No reservation needed—just pay on board with a Suica card or cash.
My hotel, the New Grand Hotel, was a 90-year-old landmark near the port. It still uses actual keys (not key cards). The location is unbeatable: a three-minute walk to the waterfront, where cruise ships dock and cherry trees line the park.
Chinatown: Welcome to “Wangfujing”
Yokohama’s Chinatown is a five-minute walk from the hotel. It’s massive, loud, and smells like soy sauce and sesame oil. You’ll see “Wangfujing” written everywhere—steamed buns, dumplings, roasted duck. The buns are comically large (twice the size of normal ones), and prices start at ¥500 each. I briefly considered a career selling buns in Japan.
Also, palm reading is apparently a pillar of Chinese culture here.
[Link: Yokohama Chinatown food guide]
Day 5: Cup Noodles Museum – Red Brick Warehouse – Motomachi
Cup Noodles Museum: DIY Your Own Ramen
The Cup Noodles Museum is a hands-on tribute to instant ramen. For ¥500, you can create your own custom Cup Noodles—choose your broth, toppings, and design the cup. It’s surprisingly addictive and makes a great souvenir. The museum also tells the story of Momofuku Ando, the inventor of instant ramen, and includes a replica of his original shed.
Red Brick Warehouse: Shopping with a View
A short walk from the museum, the Red Brick Warehouse is a pair of historic buildings turned into a shopping and event space. Browse local crafts, grab a coffee, and enjoy the waterfront views. In spring, cherry blossoms line the path outside.
Motomachi: Chic Shopping & Cafés
Motomachi is Yokohama’s upscale shopping district, with boutiques, bakeries, and cafés. It’s a nice contrast to the bustling Chinatown—quieter, more refined, and perfect for an afternoon stroll.
[Link: Yokohama 2-day itinerary]
Three-Year Japan Visa Guide: How to Get One
If you’re planning multiple trips to Japan, a three-year multiple-entry visa is a game-changer. Here’s what you need to know:
Eligibility Requirements
 - Valid passport with at least two blank pages - Completed visa application form - Recent passport-sized photo (4.5 cm x 4.5 cm) - Proof of sufficient funds (bank statements, salary slips, tax returns) - Itinerary and flight reservations - Hotel bookings for the first trip
Key Tips for Approval
 - Show steady income: A minimum annual income of ¥100,000 (approx. $900 USD) is often cited, but higher is better. - Provide a clear travel history: Previous trips to Japan or other developed countries help. - Submit a detailed itinerary: Show you’ve planned your trip, even if you don’t follow it exactly. - Apply through an accredited travel agency: They handle the paperwork and increase your chances.
Common Mistakes to Avoid
- Incomplete forms or missing signatures
- Insufficient financial proof
- Overstaying previous visas (even in other countries)
- Submitting fake documents (this can get you blacklisted)
[Link: Japan visa application process for US citizens]
Budget Breakdown for a 9-Day Kanto Trip
| Category | Estimated Cost (per person) |
|---|---|
| Flights (round-trip from US) | $800–$1,200 |
| Accommodation (8 nights) | $600–$1,000 |
| Transport (Hakone Free Pass, local trains, buses) | $150–$250 |
| Food (meals, snacks, drinks) | $300–$500 |
| Attractions (museums, ropeway, shrine entrance) | $100–$200 |
| Miscellaneous (souvenirs, ice cream, black eggs) | $50–$100 |
| Total | $2,000–$3,250 |
To save money, consider: - Staying in budget hotels or hostels - Eating at convenience stores (Lawson, 7-Eleven) for breakfast - Buying a Suica card for easy tap-and-go payments - Using the Hakone Free Pass for unlimited transport
Frequently Asked Questions
1. Is a three-year Japan visa easy to get?
 Yes, if you meet the financial and documentation requirements. The key is showing steady income and a clear travel history. Applying through an accredited agency streamlines the process.
2. What’s the best time to visit Hakone for cherry blossoms?
 Late March to early April is peak season, but it varies by year. Check the Sakura Front forecast before booking. For a less crowded experience, visit in late April when blossoms are still visible at higher elevations.
3. How do I get from Narita to Hakone without a rental car?
 Take the Skyliner to Nippori, switch to the Yamanote Line to Shinjuku, then board the Odakyu Highway Bus directly to Hakone. Total travel time: about 2.5–3 hours.
4. Can I use a Suica card everywhere in Kanto?
 Yes, Suica works on most trains, buses, and even some taxis and convenience stores. It’s the most convenient payment method for short trips.
5. What should I pack for a spring trip to Japan?
Layers are essential—temperatures can range from 10°C (50°F) in the morning to 20°C (68°F) in the afternoon. Bring a light jacket, comfortable walking shoes, an umbrella, and a camera for the blossoms.
Your Kanto Adventure Awaits
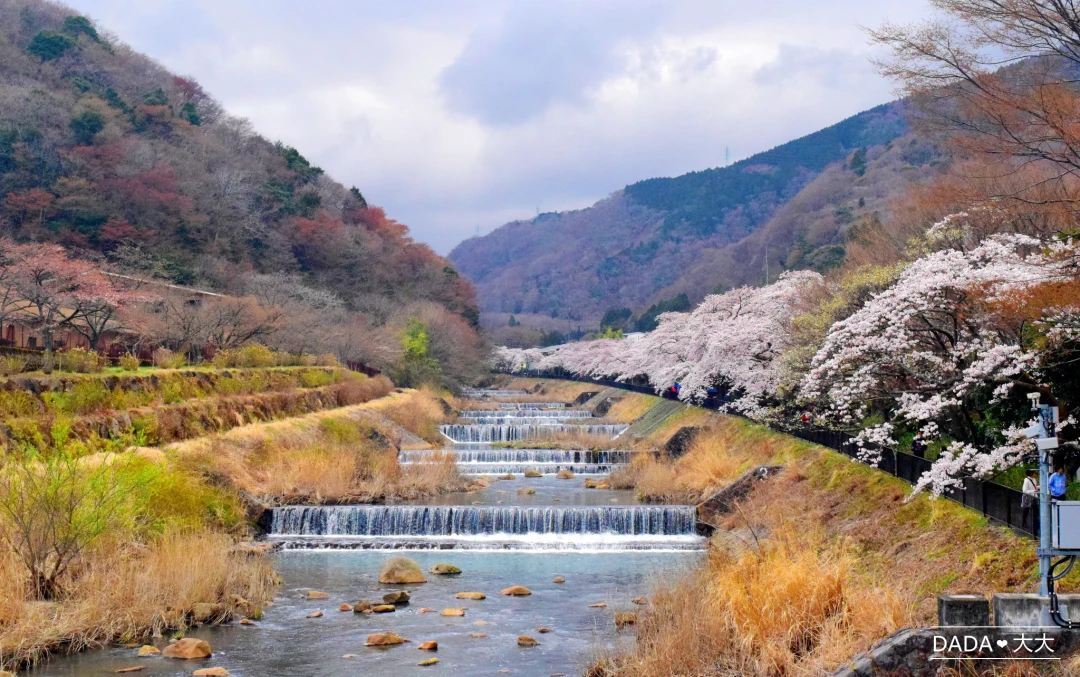
From the sulfur-scented peaks of Ōwakudani to the serene torii gate at Hakone Shrine, from the bustling streets of Yokohama’s Chinatown to the quiet cherry blossom bridge at Miyagino—this Kanto journey offers a perfect blend of nature, culture, and urban excitement.
Whether you’re chasing sakura, exploring hidden temples, or applying for that three-year visa, remember: the best adventures are the ones you plan—but leave room for serendipity.
Ready to start planning? Bookmark this guide, save your favorite spots, and share it with a friend who’s been dreaming of Japan. Your cherry blossom moment is waiting.
[Link: Japan travel planning checklist]