Family Travel Photography in Shanghai: The Ultimate Guide to Playing and Photographing with Your Little One
Meta Description: Master family travel photography in Shanghai with this complete guide. From Disneyland to hidden gems, learn how to capture stunning candid shots of your child while enjoying a stress-free vacation.
Introduction: Why Family Travel Photography Doesn't Have to Be a Struggle
Every parent knows the scenario: you're juggling a diaper bag, chasing a toddler who's running in the opposite direction, and trying to snap a photo that doesn't look like a blurry mess. "Family travel photography" sounds like an oxymoron when you're in the thick of it.
But here's the truth: you can have both a fun family vacation and incredible travel photos.
During the 2018 May Day holiday, our family of three spent seven days in Shanghai on what we called a "play and shoot" adventure. Dad carried the camera as photographer, Mom transformed into logistics manager and assistant, and our three-year-old daughter, Yanyan, became our star model. We captured every beautiful moment through our lens—and along the way, developed a practical, repeatable system for family travel photography.
If you want to explore Shanghai with your little one while creating jaw-dropping memories, this guide is for you. Let's dive into the gear, mindset, and locations that make family travel photography not just possible, but genuinely enjoyable.
Pre-Trip Preparation: Double Arm Yourself with Gear and Mindset

Essential Camera Gear for Family Travel Photography
Your equipment doesn't need to be expensive, but it should be versatile. For our Shanghai trip, we brought two lenses:
- Canon 24-70mm f/2.8 II – The all-rounder. Perfect for landscapes, street scenes, and group shots.
- 35mm f/1.4 – The portrait powerhouse. Excellent in low light and for capturing your child's expressions with beautiful background blur.
Our body was a Canon 5D4, but any camera with good low-light performance and fast autofocus will work. The key is bringing at least two fully charged batteries. On Disney day, I ran out of juice by early evening. Watching the carousel lights come on while my camera sat dead was a painful lesson.
Pro tip: If you're on a budget, a mirrorless camera with a fast prime lens (like a 35mm or 50mm f/1.8) can produce stunning results without breaking the bank.
Mindset Shift: Give Up "Posed Shots," Embrace "Candid Captures"
The biggest enemy of family travel photography isn't technique—it's expectation. If you expect a three-year-old to stand still and strike a pose, you're setting yourself up for frustration.
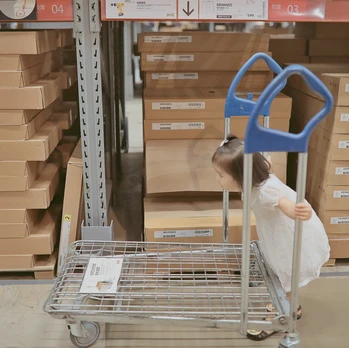
Our core philosophy: At this age, don't try to guide your child into specific actions or stances. Candid shots are the best interpretation of this stage of life. Years from now, when your child looks at these photos and sees genuine moments they don't even remember, it will be the greatest gift you can give them.
Long-tail keyword variation: "How to take candid photos of toddlers while traveling" – The answer is simple: stop directing and start observing. Let your child explore, and be ready to capture the magic.
Stop One: IKEA – Playing with Light and Shadow in the Warehouse
Rating: ★★★★☆
Best shooting time: Weekday morning
Recommended lens: 35mm f/1.4
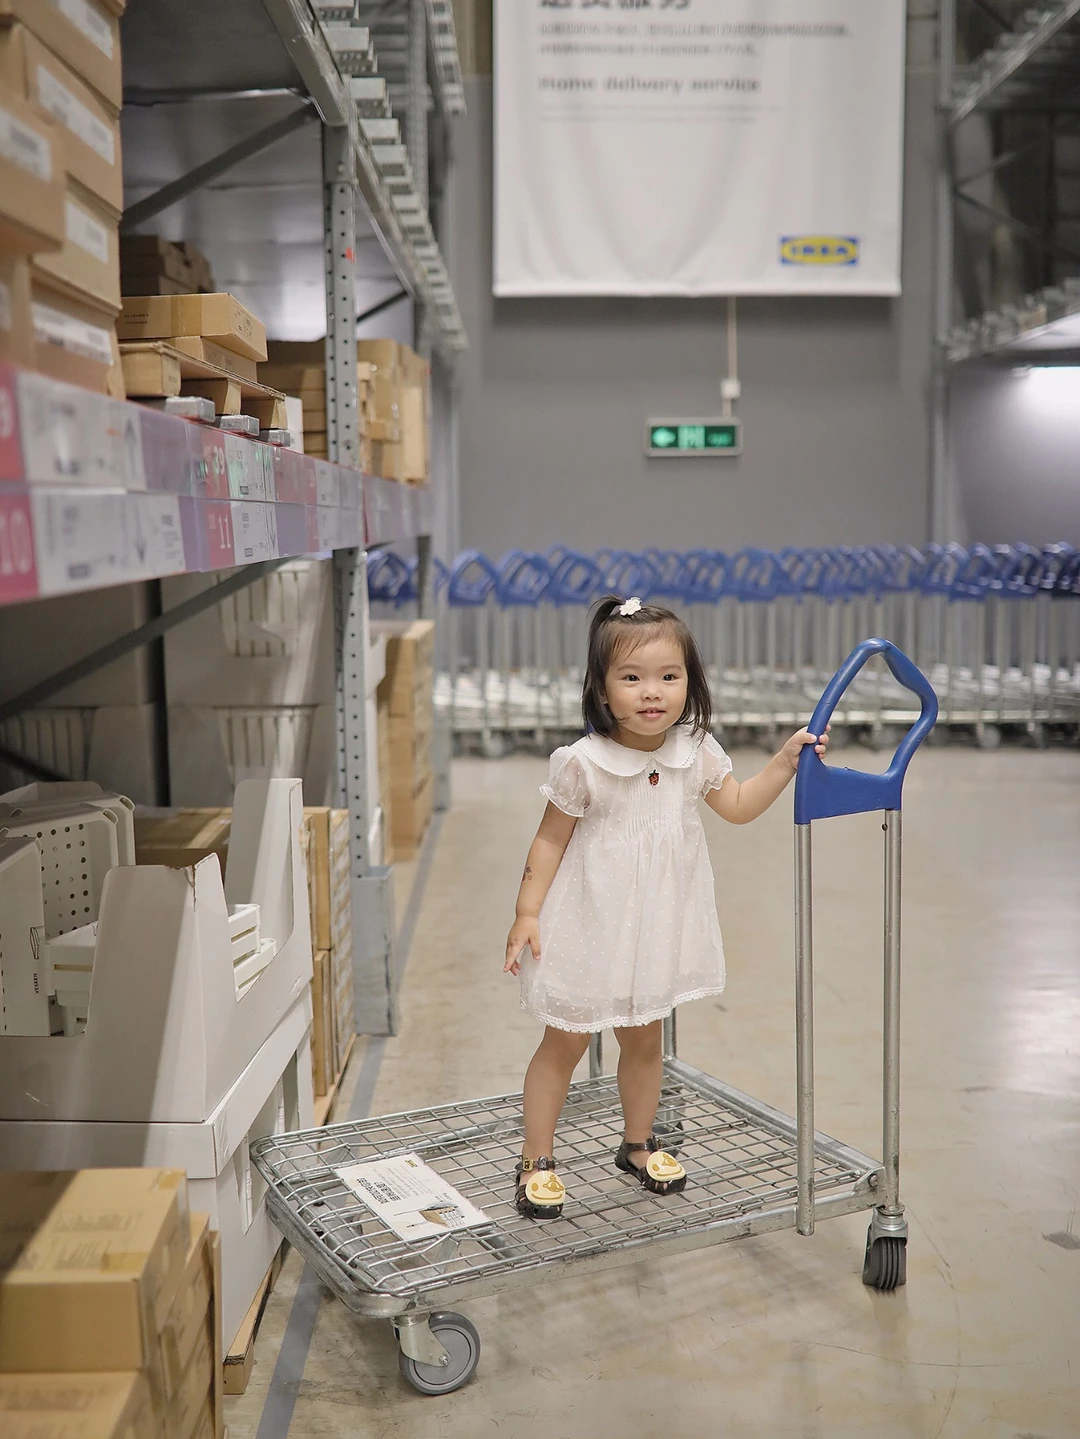
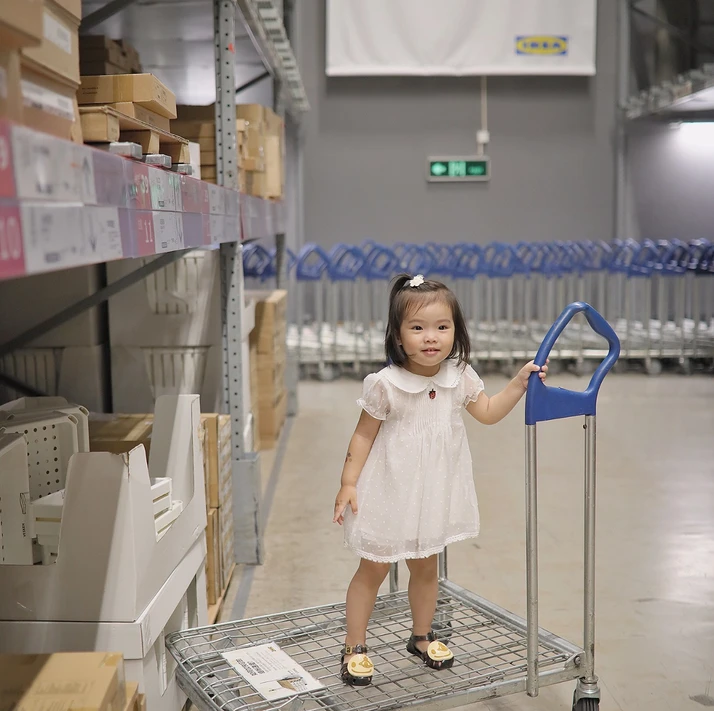
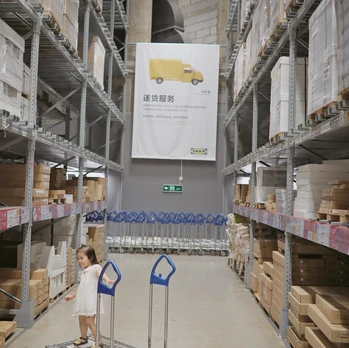
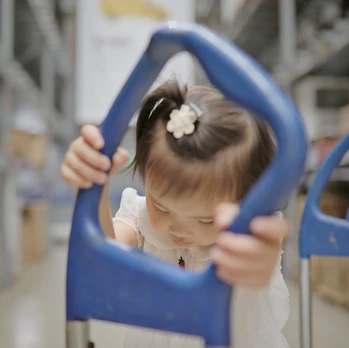
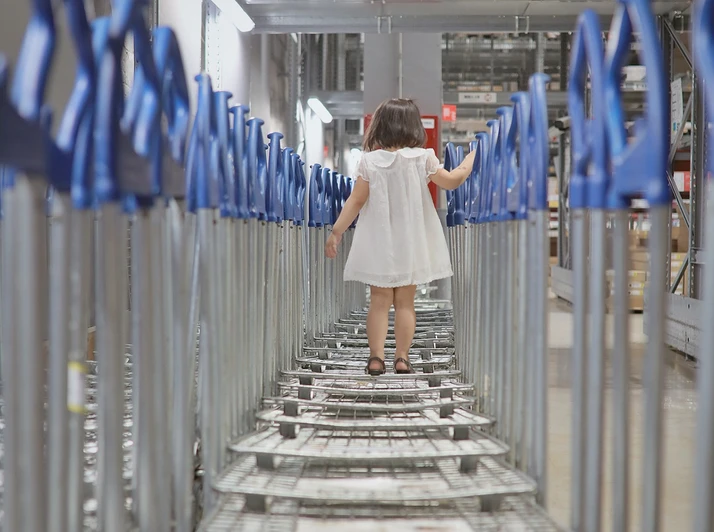
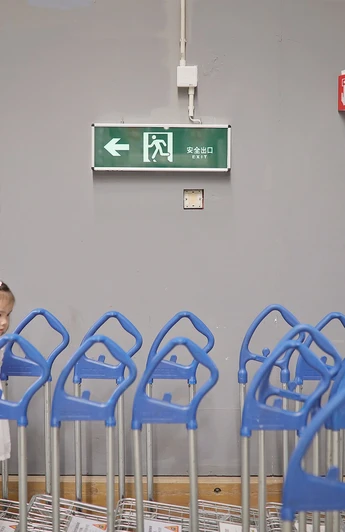
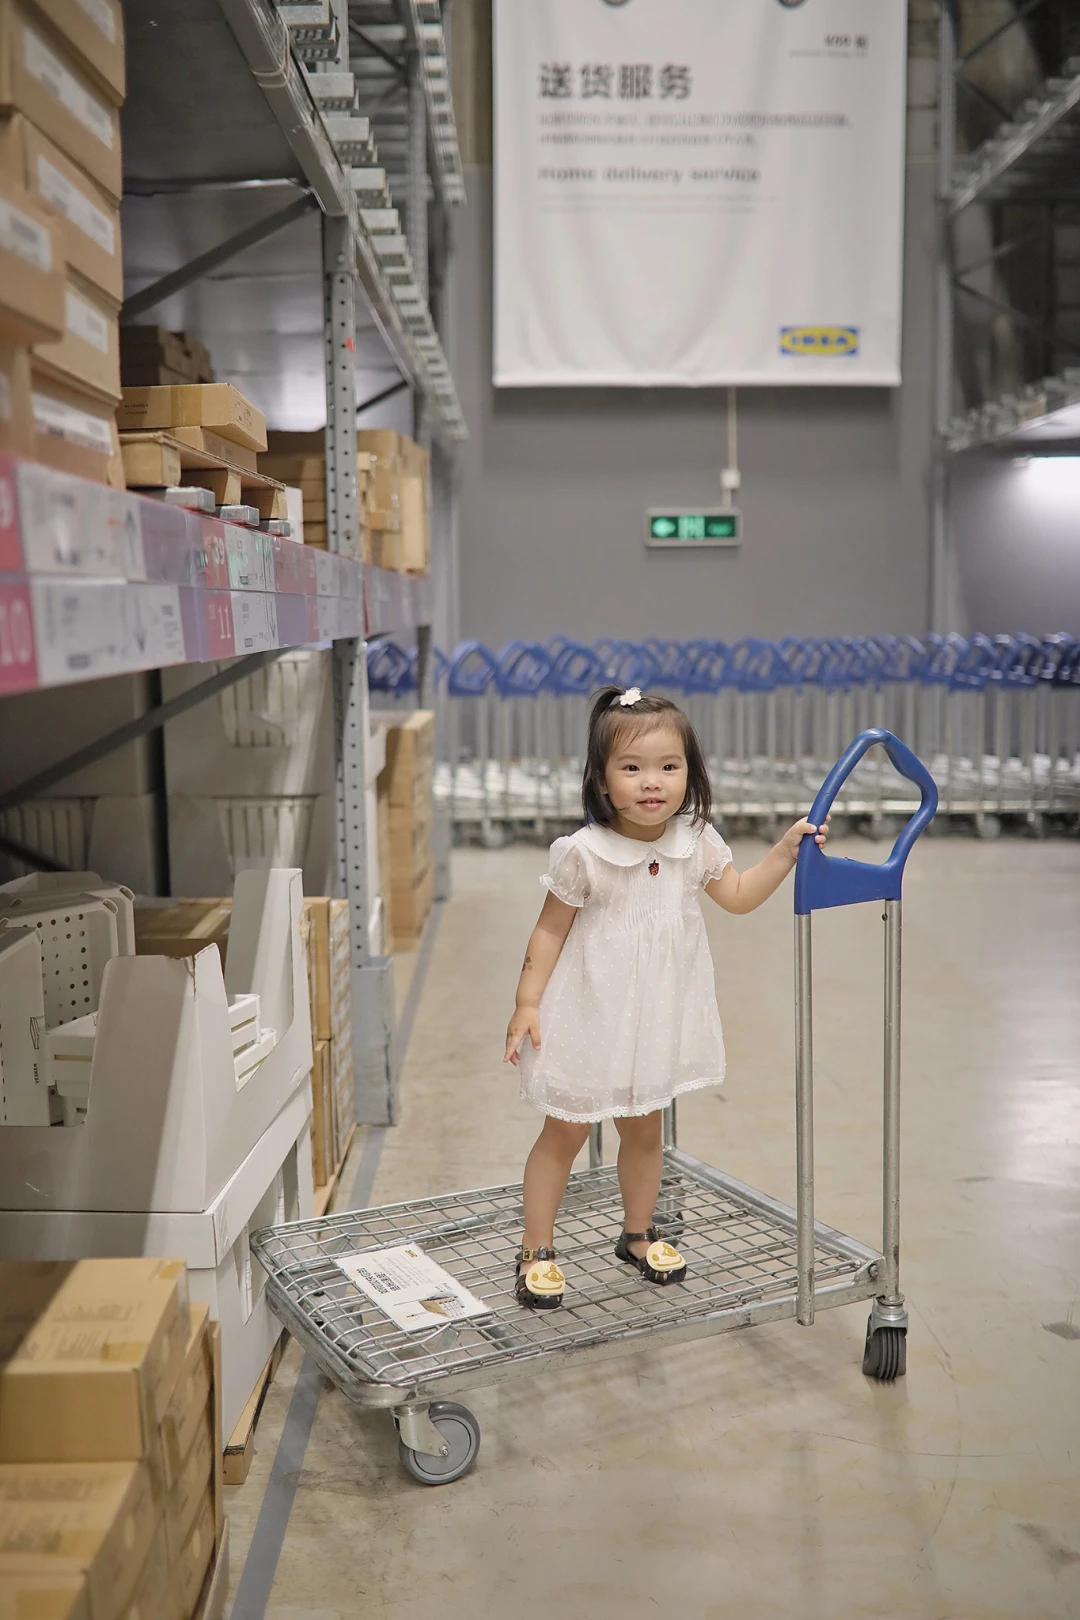
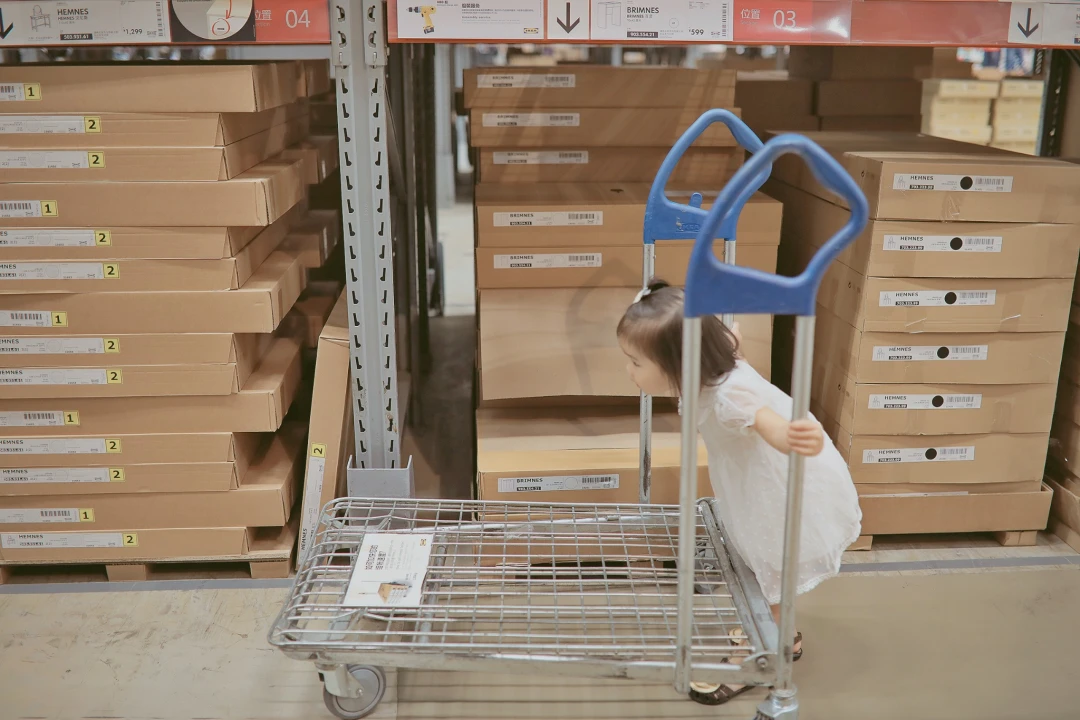
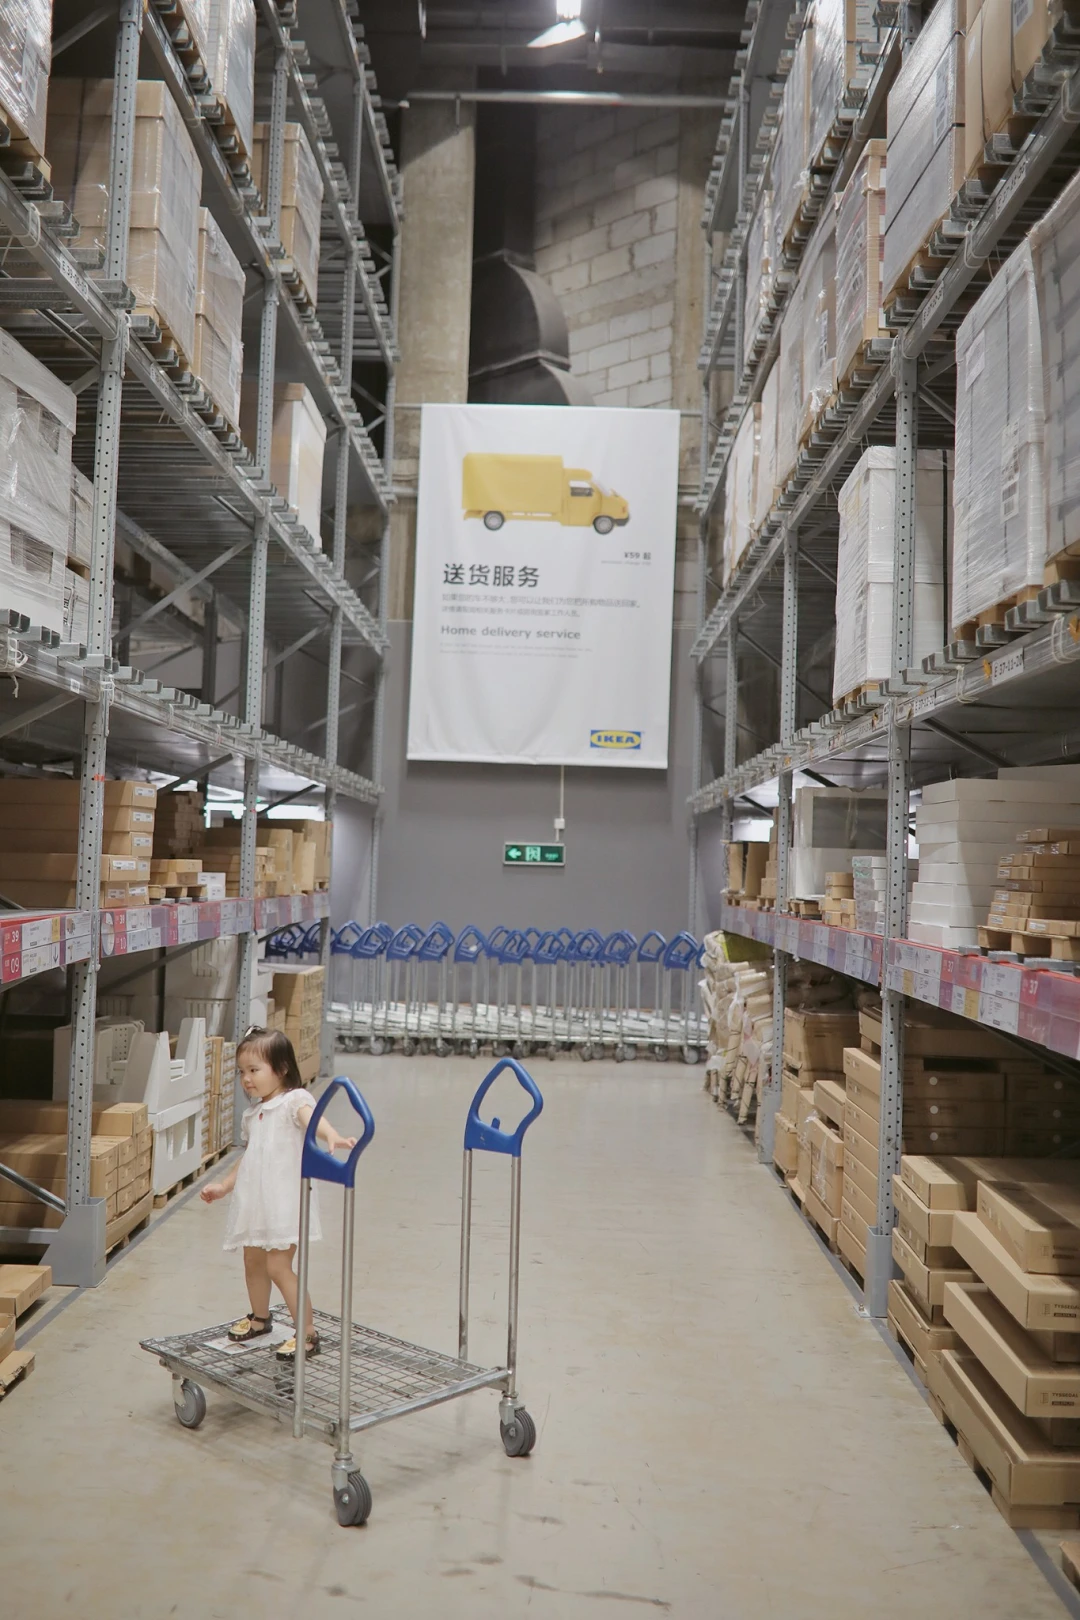
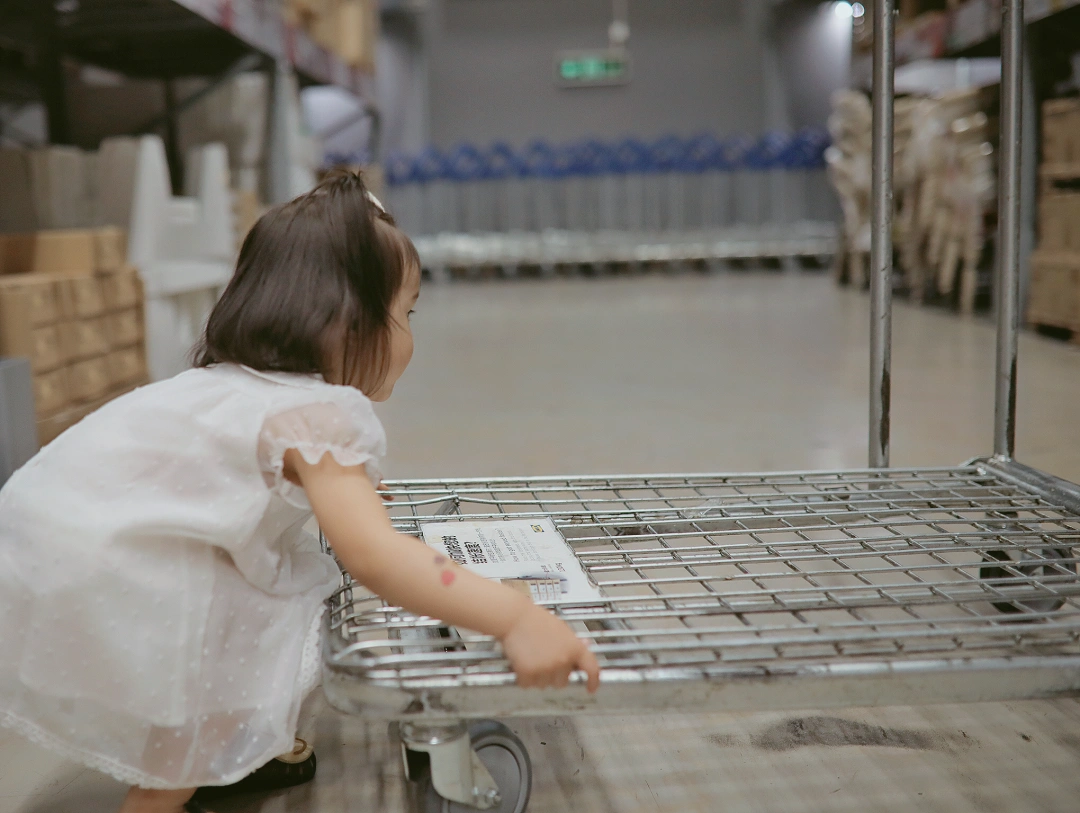
Most people don't realize that IKEA's first-floor open warehouse area is an excellent spot for family photography. The towering shelves, neatly stacked boxes, and long corridors create natural geometric compositions. The lighting here is even and soft—perfect for photographing children.
Camera Settings for IKEA Photography
When shooting, use: - Spot metering to expose for your child's face - Exposure compensation at +1 to keep skin tones bright and translucent - ISO at 1600 for indoor conditions
These settings ensure your child's skin has a luminous quality while preserving background details.
Safety First: Shooting in a Warehouse Environment
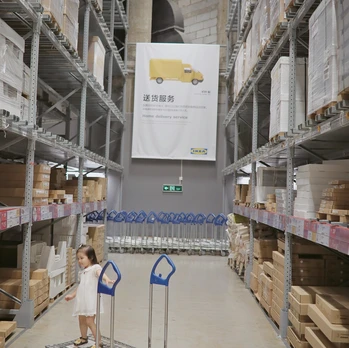
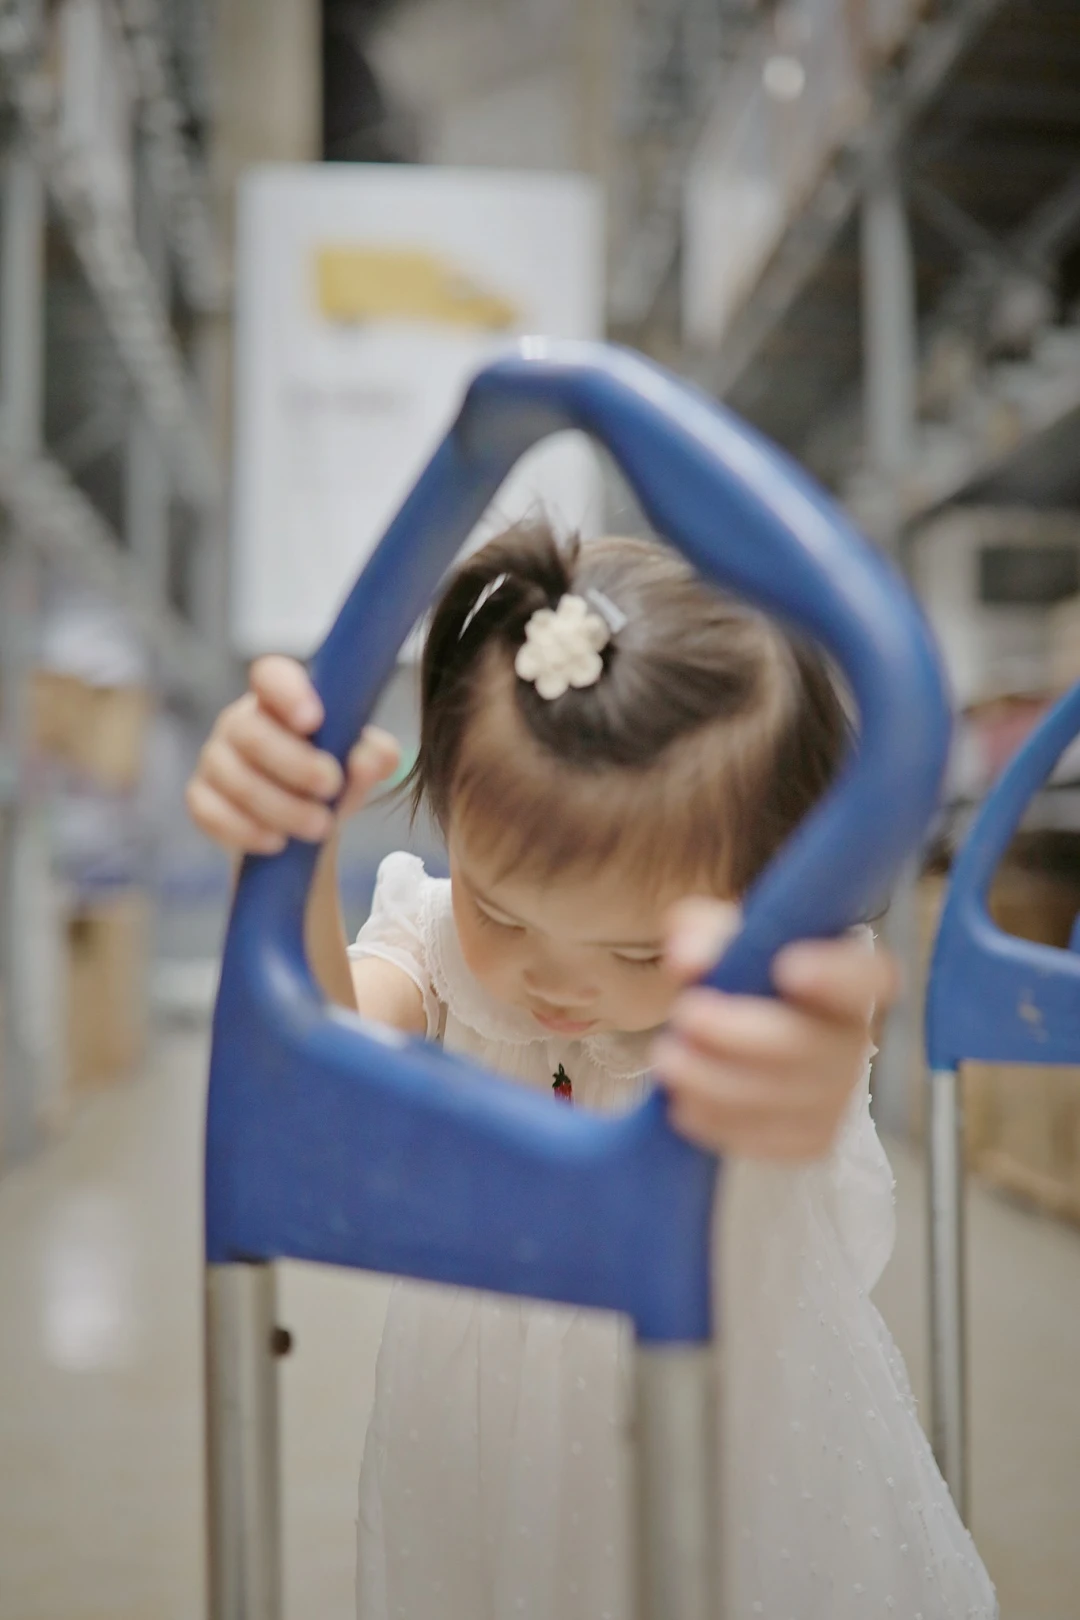
Shopping carts move, so make sure your child is safe. Have Mom stand by to catch them while Dad focuses on capturing curious expressions as they explore the warehouse. The key is to let your child interact naturally with the environment—picking up boxes, peeking around corners, or sitting among the displays.
[Link: Family travel photography safety tips for toddlers]
Stop Two: Nanjing Road Pedestrian Street – An Unexpected Lego Wall Discovery
Rating: ★☆☆☆☆
Best shooting time: Weekday evening
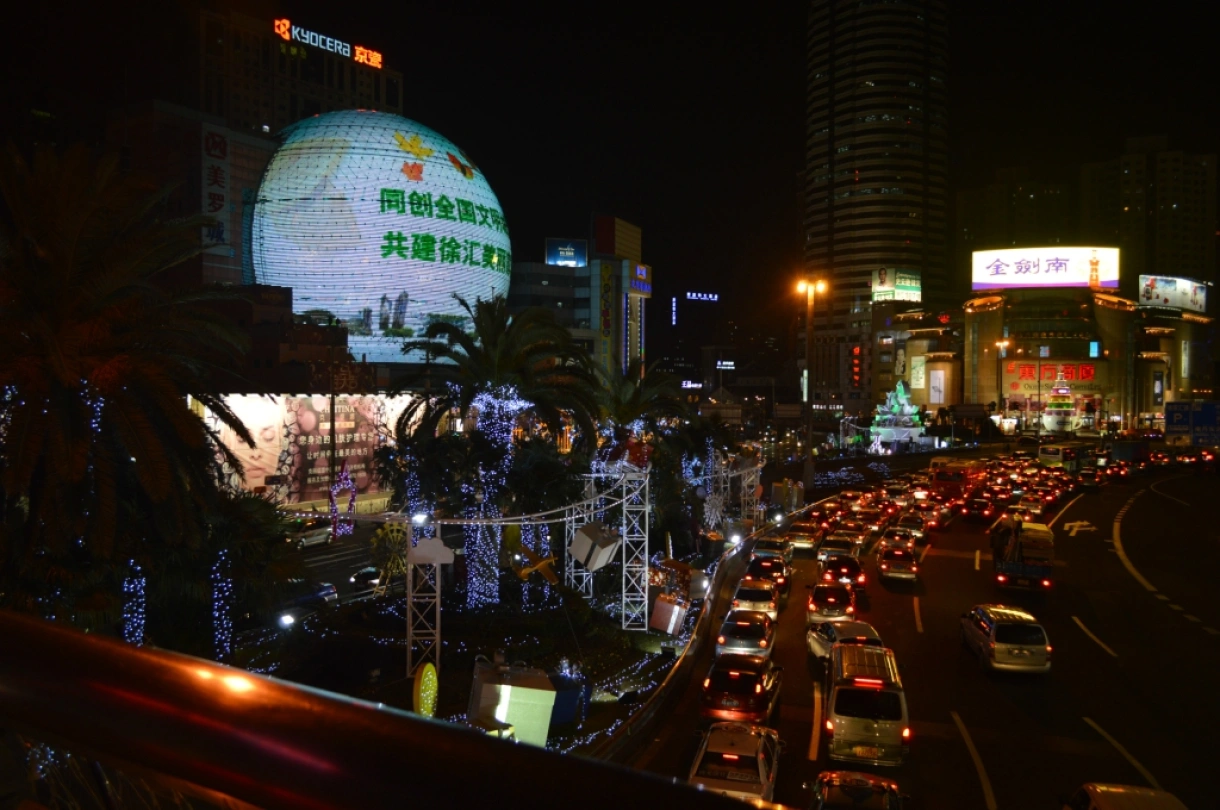
We originally planned to shoot night scenes at the Bund. But during the May Day holiday, the Bund was packed wall to wall—impossible to move. We decisively abandoned the plan and headed to Nanjing Road Pedestrian Street instead.
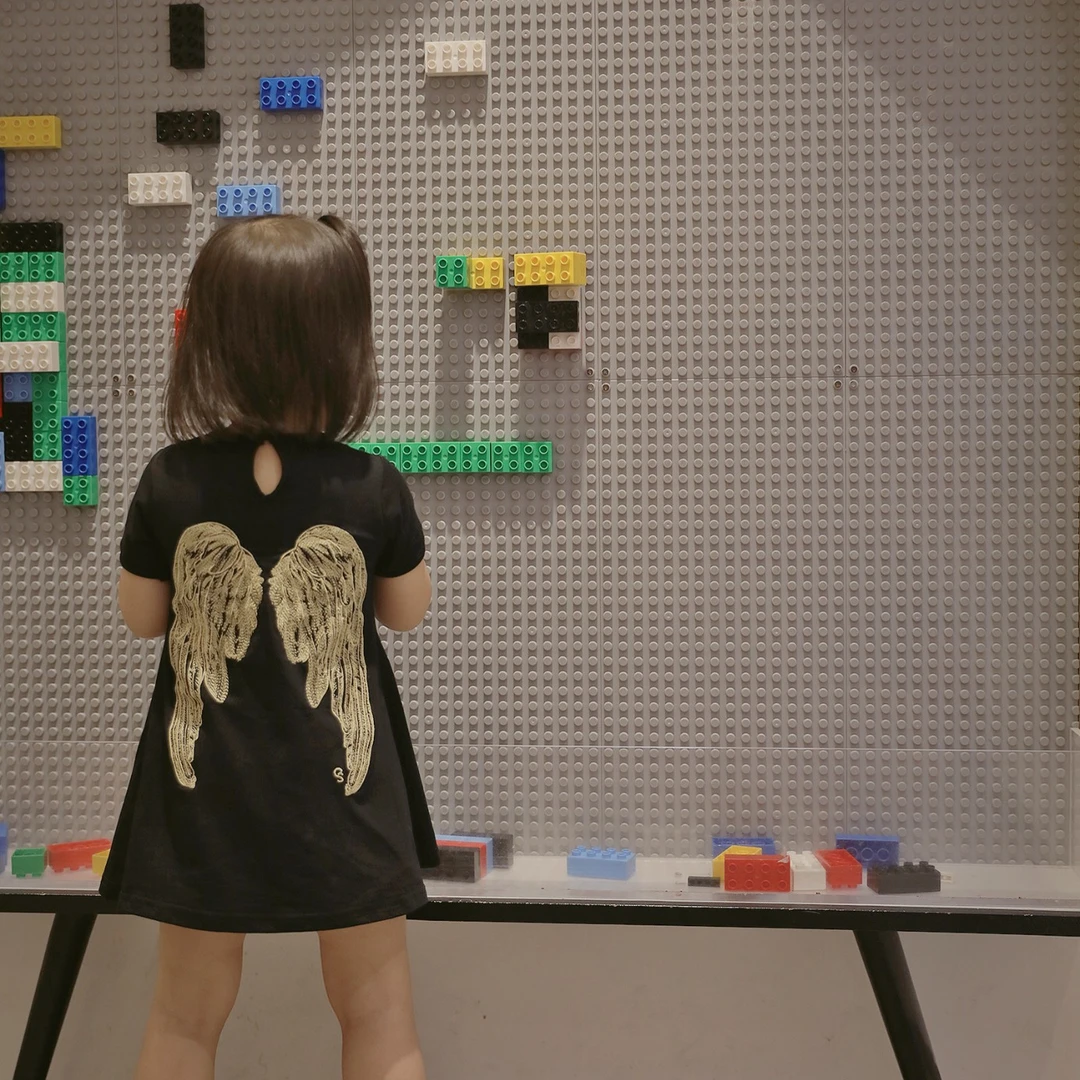
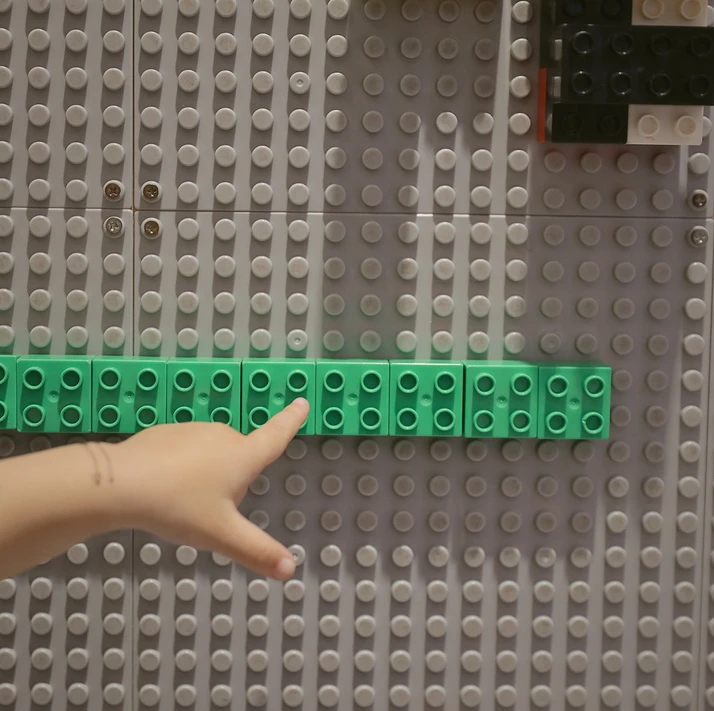
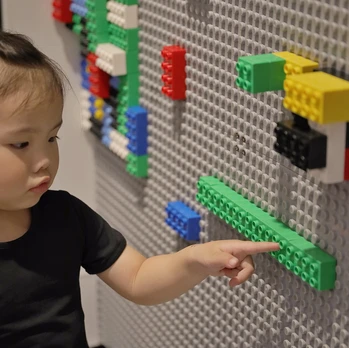
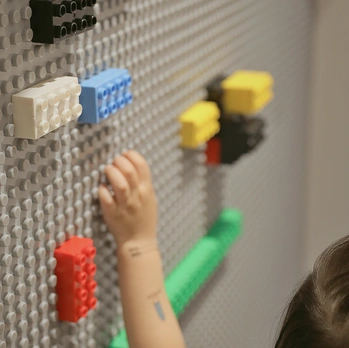
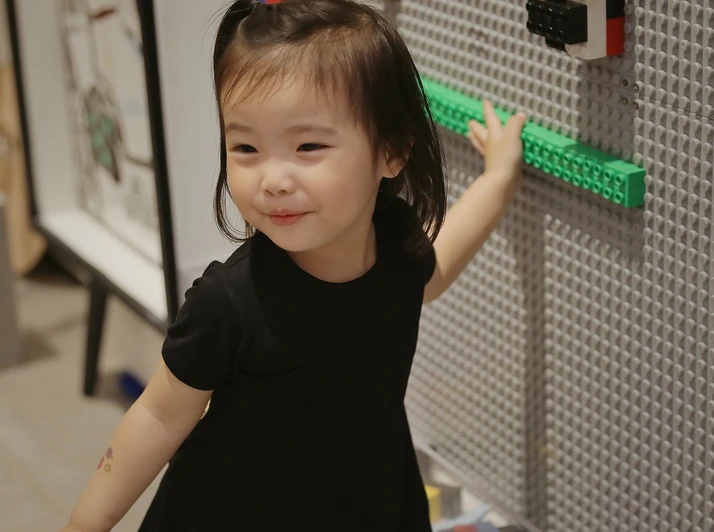
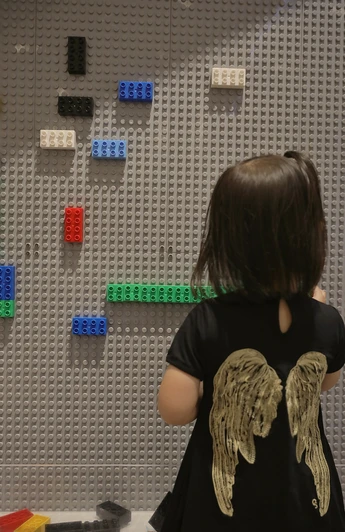
In a mall, we stumbled upon a store called "mini peacebird," which had a giant Lego wall at its entrance. For a child, this was heaven. The colorful Lego bricks themselves made the perfect background.
Honest take: The photographic value here was limited, but it was a pleasant surprise and a reminder that family travel photography is about embracing spontaneity. Sometimes the best shots come from unexpected detours.
Stop Three: Eagle Coffee – How to Do a Trendy Café with Kids
Rating: ★★★★☆
Best shooting time: Weekday morning
Recommended lens: 24-70mm f/2.8 II
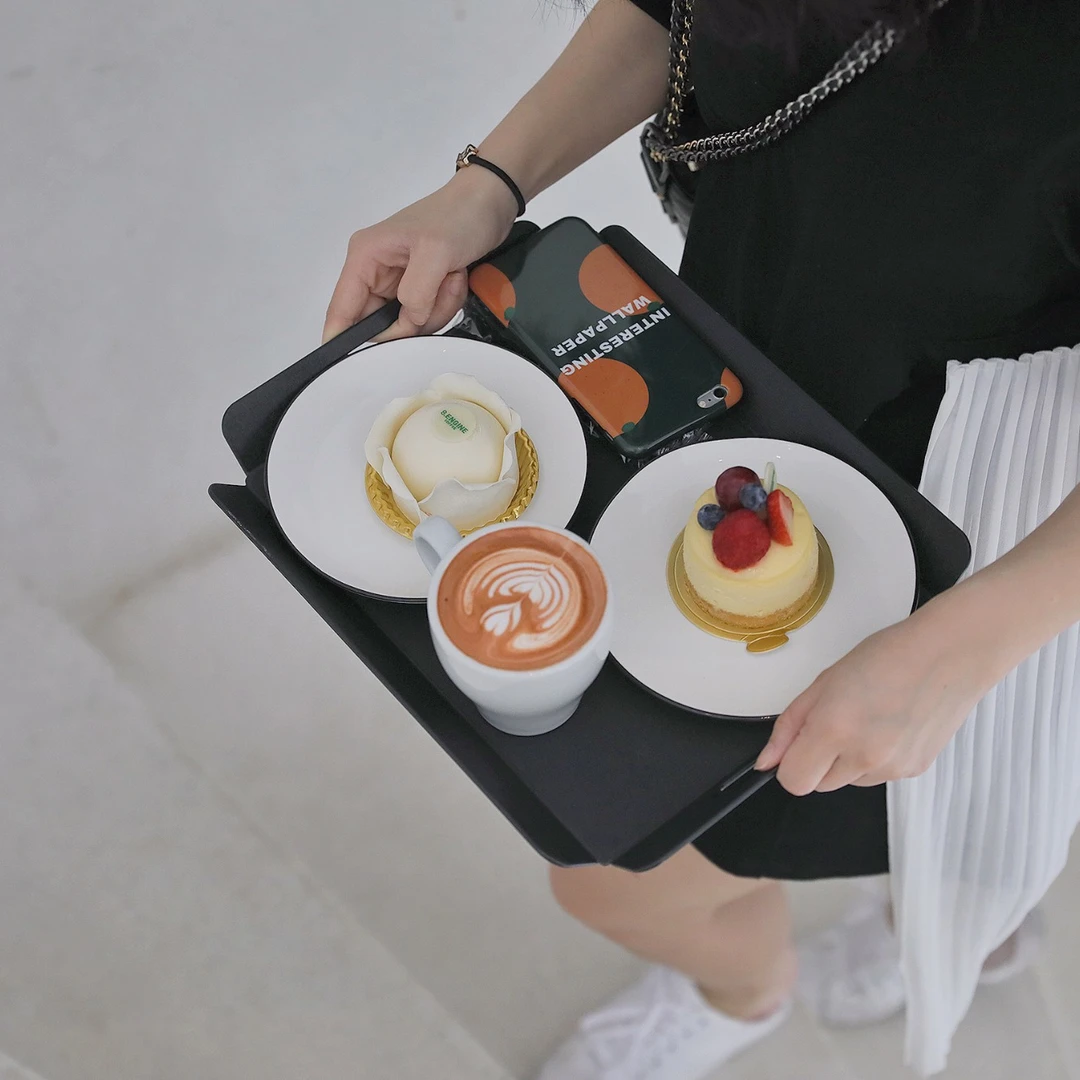
Shanghai has no shortage of trendy coffee shops, but few are suitable for bringing kids. Eagle Coffee is an exception. The most eye-catching feature is its spiral staircase. Shooting from the top down can produce portraits with a strong sense of depth.
Safety Prerequisite for Staircase Photography
There's a crucial condition for photographing kids on a spiral staircase: make sure your child can go up and down stairs independently. If the child is too young or afraid of stairs, don't force it. Safety always comes first.
Camera Settings for Café Photography
When shooting at Eagle Coffee: - Evaluative metering with zero exposure compensation - ISO at 100 for clean, noise-free images - Use the staircase railing as a foreground blur to add depth to your composition
Dessert recommendation: Their croissant has a custard filling in the middle—delicious and a hit with kids. A happy child makes for better photos.
[Link: Best family-friendly cafés in Shanghai for photography]
Stop Four: Disneyland – An All-Day Photography Marathon
Rating: ★★★★★
Best shooting time: Weekday morning
Recommended lens: 24-70mm f/2.8 II
Finally, the main event—Shanghai Disneyland. This is the ultimate test for family travel photography and the place where you can get the most rewarding shots.
The Carousel: The First Place to Go
The carousel is closest to the entrance and a Disney icon. Position yourself at the exit railing. Before the carousel starts, you can get at least two minutes of shooting time. Once it's in motion, capturing clean shots becomes much harder.
When choosing a horse, pick the outermost row. The inner rows are nearly impossible to shoot. Don't go for the low carriages—they're too close to the ground for good angles. If you don't get a good spot, wait for the next round.
Toy Story Land: A Paradise of Color
The newly opened Toy Story Land is bursting with color. Red, yellow, blue, green—these high-saturation hues are incredibly appealing to kids. Here, you don't need much technique. Just let your child run freely through the colors and press the shutter.
Long-tail keyword variation: "Best spots for colorful family photos at Shanghai Disneyland" – Toy Story Land wins hands down for vibrant, joyful images.
Dumbo: Two Hours in Line, Two Minutes to Shoot
Dumbo is a popular ride, often with wait times exceeding two hours. If your child is on the "less obedient" side, choose your battles wisely. My advice: if time is tight, skip this ride and save your energy for spots that yield better photos.
Shooting Tips: Exposure Control Is Key
Lighting at Disneyland varies wildly—from indoors to outdoors, from overcast to blazing sun. You need to adjust your exposure settings flexibly.
- When shooting the sky: Set exposure compensation to -1 and use evaluative metering. This prevents the sky from blowing out. In post-processing, lower the highlights to make the image more harmonious.
- In direct sunlight: When the sun is harsh, don't force it. Use foreground elements for slight obstruction—like leaves, balloons, or railings—to balance exposure and add depth.
- Indoor light windows: Disney has many light windows where incoming light is stunning. Use spot metering, set exposure compensation to -3, AV mode, and ISO to 3200, ensuring a fast enough shutter speed for candids. Lowering the exposure keeps the image clean—there are tons of tourists. Once you've composed, use the underexposure to "black out" the surroundings, making the frame simpler.
Other Practical Tips for Disney Family Photography
- Accessories: A StellaLou headband plus a ZARA straw bag—both photogenic and practical.
- Gacha payments: No change? No problem. You can scan Alipay to pay.
- Strawberry Bear: Smells strongly of strawberries, reasonably priced. Spend over 700 yuan at a single store and they'll ship it for you.
- Maze maps: Don't guide your child on which way to go. Let them choose and walk. We just follow. Don't worry about wrong turns—every "mistake" is a unique photo opportunity.
- Interacting with vendors: Vendors who actively engage with your child make for the most natural, joyful shots.
[Link: Shanghai Disneyland photography guide for families]
FAQ: Family Travel Photography in Shanghai
1. What's the best camera for family travel photography on a budget?
A mirrorless camera like the Sony A6000 series or Canon EOS M50 with a fast prime lens (35mm or 50mm f/1.8) offers excellent image quality without the weight and cost of a full-frame DSLR. The key is fast autofocus and good low-light performance.
2. How do I keep my child still for photos?
You don't. The secret to family travel photography is embracing movement. Use a fast shutter speed (1/250s or faster) and shoot in burst mode. Let your child explore, play, and interact naturally. The best shots come from genuine moments, not forced poses.
3. What are the best times of day for family photos in Shanghai?
Golden hour (the hour after sunrise and before sunset) provides the most flattering light. For Disneyland, arrive at opening time to shoot before crowds build. For indoor locations like IKEA or cafés, weekday mornings offer the best lighting and fewest people.
4. How do I handle crowds when taking photos?
Use a wide aperture (f/1.4 to f/2.8) to blur out background crowds. Position your child against walls, railings, or other barriers to minimize distractions. Underexpose slightly to darken the surroundings, then brighten your subject in post-processing.
5. Do I need to bring a tripod for family travel photography?
Not typically. For family travel photography, you need mobility. A tripod slows you down and makes candid shots harder. Instead, use a fast lens and high ISO to maintain shutter speed. If you want night shots, a small tabletop tripod or a GorillaPod can be useful without being bulky.
Conclusion: Your Family Travel Photography Journey Starts Now
Family travel photography in Shanghai is not a dream—it's a skill you can develop with the right mindset, gear, and locations. From the geometric beauty of IKEA's warehouse to the colorful chaos of Disneyland, every moment is an opportunity to capture your child's wonder and joy.
Your action plan:
- Prepare your gear – Bring two batteries, a versatile zoom lens, and a fast prime lens.
- Adjust your mindset – Let go of posed shots. Embrace candid captures.
- Choose your locations – Start with IKEA for practice, then tackle Disneyland for the ultimate challenge.
- Shoot with intention – Use the exposure tips and safety guidelines we've covered.
- Edit with care – Lower highlights, boost shadows, and keep skin tones natural.
The photos you take today will be the memories your family treasures tomorrow. So pack your camera, grab your little one, and head to Shanghai. The adventure—and the photos—are waiting.
Ready to start your family travel photography journey? Bookmark this guide, share it with your travel partner, and let us know in the comments which Shanghai location you're most excited to photograph. Happy shooting!
You may also like